phone: 5092181397

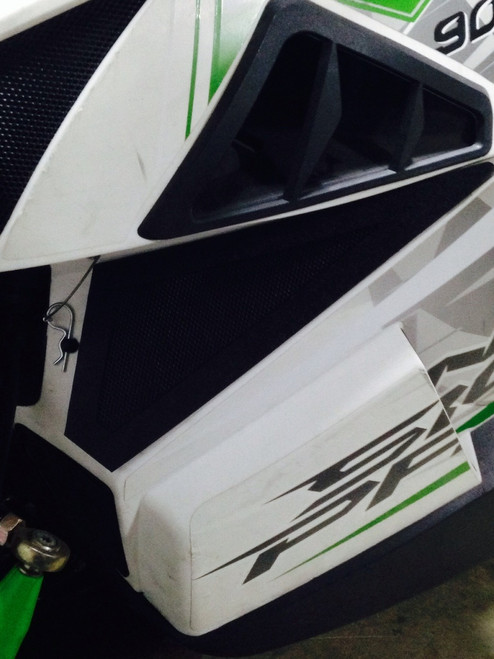
Proclimb Headlight Delete

$75.00
Write a Review
SKU:
delete-proclimb

Headlight delete for the stock proclimb hood. Formed ABS delete mimics the popular look of our one piece polycarbonate proclimb hood. Delete allows for using your stock intake system with slight modification, or can be used with our delete pod intake vents, or can be used with our nose style intake system. With stock intake track saves 3lbs, you can save up to 7 pounds using or nose style intake option. 


Delete has threaded inserts installed for using the stock windshield / gauge brackets. Rivets included for install along with machine screws for installation of windshield brackets.

3 Reviews

  • 5
    great product

    Posted by Kody Kallas on 4th Apr 2016

    Install was easy and it looks very clean.

  • 5
    great product

    Posted by Unknown on 1st Mar 2016

    Fit & finish is perfect.

  • 4
    Yamaha Viper Install

    Posted by Matt on 3rd Dec 2015

    Overall, this product is great. I would have rated it 5 stars, but it's not necessarily a "snap your fingers and you're done" sort of install on a Viper. I haven't had a Proclimb apart to see how they are put together compared to the Viper, so this may not pertain to the Cat's at all. Tools required for a Viper: Torx head wrenches required to get the hood off and windshield off (I believe it's a T20, T25, and a T30) P2 Phillips screwdriver Cutting wheel Dremmel Rivet gun The install is pretty straight forward, take off the headlight and put this in place. There are NO instruction included in the kit, but are NOT needed if you are mechanically inclined. Once the headlight is off, the Viper requires some trimming of the gauge holder/instrument panel. The three spots needed trimming are as follows, 1. The very front tip where it comes to a point has a lip on the bottom of it. You will need to trim this lip off so the panel can sit flush against the delete. 2. There are 2 tabs that slide in to the backside of the headlight. To ensure clearance when installing onto the hood, these will need to be trimmed. You can do this a couple ways. Either flush and completely off, or trim approximately 2 1/2 inches off from the bottom to keep a relative stock appearance. After trimming these two spots, you can start putting the hood back together. 3. Install the hood back onto the sled (It will not properly fit until this final trimming is completed). The plastic trim pieces coming on both sides of the steering support brackets will hit. Mark where the support arms contact the hood and remove the hood. This can be trimmed in a variety of ways. Once trimmed enough to clear, the hood will fit back just fine. Note, when installing the instrument panel back on, the 2 front screws are the only two that will work when mounting onto the delete. You will also have to either drill a few holes to ensure your wiring connectors can plug back in. I cut a hole out of the top and also a few out of the bottom. This will allow me room to plug everything in, as well as room for venting. With the holes drilled out of the bottom of the delete, I can now also add vents to the front portion to allow the heat from the engine compartment to escape.